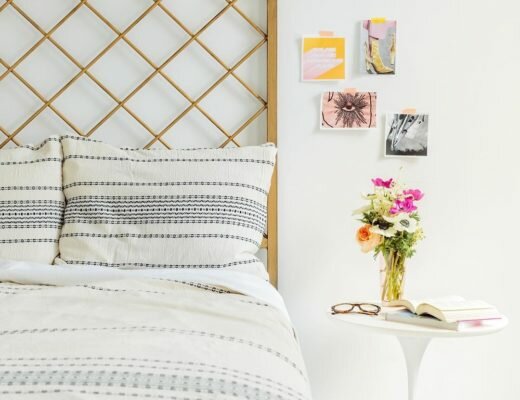
So you want to create a gallery wall? Let’s do it!
It’s not as hard as you think it is. However, it’s probably more tedious and time consuming than you’d think. I think some people honestly have the knack to just start hanging and then BAM, there’s a gorgeous gallery wall. I’m just not that person. I find it troubling that I won’t know what it’s going to look like at the end. Then I start thinking about all the holes I’ll be putting in the walls. (Which are fairly easy to fix but it’s still pretty annoying)
Here are the steps I take to complete a gallery wall. Keep in mind though that everyone’s brain works differently so if you find yourself just going at it… you’re not doing it wrong, just differently than me.
Shopping for Art.
Soooo tips for finding art… thrift store thrift store thrift store. Well not entirely but I did find all of these except for one at antique stores and thrift stores. I had to collect for a couple months in order to have pieces I really loved. The one lady at the bottom is Eleanor. I found her on Jenny’s Print Shop. I love that she looks like an oil painting but she’s just a simple print. That’s another option for finding art. You can find really cool prints on Etsy or by individual artists and just print them at a local print shop. That saves some time if you’re ready to hang your gallery wall art but you’re just missing one or two pieces. I think a collected gallery wall is stunning but whatever you choose, I’m sure it will be beautiful 😉
Another great place to find pretty printables is Goldie and Fawn on Etsy.
Plan it Out on the Floor.
(and try to avoid dogs stepping all over them)
I always always always place the art on the floor to get an idea about the pattern and look I want. Keep in mind when doing this how big your wall/area is. I knew I wanted 12 inches at the bottom (above molding) and 12 inches at the top. I also knew how many inches I wanted at both sides. That way I knew how much space I had to work with on the floor. Then I just started laying away. I chose to go on an angle because of the placement of the hanging chair.
Make a Sketch.
Okay don’t judge this sketch. I threw my other one out so I had to recreate it and it’s legit chicken scratch and also not accurate.
Anyway, make a sketch! Sketch out your wall art so you can remember the placement. I wrote how many inches every piece was from the other pieces so as I start hanging I can remember where I wanted them. I started with the flowers on the bottom left and worked my way up and over. Write down the distance of pieces on all sides that way you’ll know exactly where to put them. All you need is a measuring tape and it’s smooth sailing from here.
Tape it Out.
You don’t have to do ALL of these steps. You can take or leave any of these steps and do whatever works for you. I’ve also seen people tape out where their art is going to go but for me that’s a little too much taping and measuring. However, if you don’t have a place on the floor to map it out this can be very useful and also save your walls from a ton of unnecessary holes. I use tape a lot for singular pictures before buying or ordering things. I wan’t to make sure that size will look good in the spot.
This is a singular piece I taped out recently so you can get the idea of using tape for your gallery wall. You can also just use tape for the corners and save yourself using massive amounts of tape. For singular ones I just tape the whole square/rectangle.
This corner still needs to be finished. 🙂
Also, for hanging art that doesn’t have hooks attached you can use command strips or something like this. (assorted hooks)
So I think that’s it. Now GO! Go create gallery walls all over your house. 🙂
If you have any questions about gallery walls or about finding art, comment on this post or on my most recent Instagram photo!


4 Comments
Oliver Edwards
August 23, 2017 at 2:59 amThanks Cara to share these beautiful tips with us. I really love it. Sometimes, I also confused how to design my wall with some creative hangings or wall arts. These tips really work and makes easier to decorate my wall as well.
goldalamode
August 24, 2017 at 8:09 pmYay! I’m glad to hear that. Thank you so much for reading the post 🙂
Anita
July 11, 2017 at 11:15 amGreat advice Cara! Usually I am knocking nails in one area a million x before I get it right:)
goldalamode
July 25, 2017 at 12:16 pmThank you, Anita! xo