Who doesn’t like to have a high end looking home on an affordable budget?
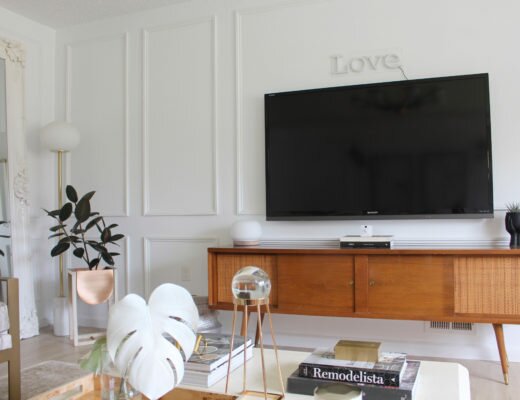
I recently did a small DIY project on my IKEA coffee table… and YES it cost me under $10.
When I bought my VITTSJO table it only came in the color black. The link I provided is for a white one, which is amazing! I definitely would have got the white one if it was available. Although, I ended up spray painting mine gold anyway.
(click HERE for the VITTSJO coffee table)
If you follow me on Snapchat I hope you watched my mini “How To” tutorial. If you didn’t get to see it I’m reposting the pics for you below!
MATERIALS

I used contact paper from Lowes and it was only $7!
You can find the contact paper HERE.
I also used a level, scissors, and a measuring tape.
P.S. these scissors are from Target by Nate Berkus! They’re amazing!
GETTING STARTED
STEP 1:

First I laid out the paper on a flat surface and measured how much paper I would need. The dots on the back of the contact paper make it super easy to cut straight lines.
STEP 2:

Second, I peeled the back off. It can curl up so I used some random kitchen items to hold it down. (fancy)
STEP 3:

You can either lay your object down on the paper or lay the paper down on your object.
I personally felt more comfortable laying the object down on the sticky side to make sure it was straight. However, if you do it this way you may have to do some readjusting in order to get rid of the bubbles when you flip it over.
STEP 4:

This is where it gets semi-tricky… but don’t worry you got it!
P.S. you may need two people
I peeled up most of the contact paper almost to the edge.Then I had my fiance lay it straight down slowly as I used the level to flatten it. Doing it this way will give you zero bubbles I promise!
STEP 5:

For this particular project I didn’t care much about the bottom because nobody will EVER see it. It’s my dirty little secret… well until I just blogged about it.
Anyway, I cut the edges on a diagonal so when I folded them over there weren’t any awkward overlapping issues. I cut a little square for each of the four corners and placed it right over the diagonal cut just to give it some extra protection.
If I was going to do both sides I would probably do it the exact same way but leave less paper for the edges. I would allow the paper to JUST wrap onto the other side slightly. Then I would cut the exact size of the object out of the paper and place it on the second side.

I hope you enjoyed reading! Tag @goldalamode in your contact paper / IKEA hack DIYs!
If you have any questions comment on Instagram!


No Comments