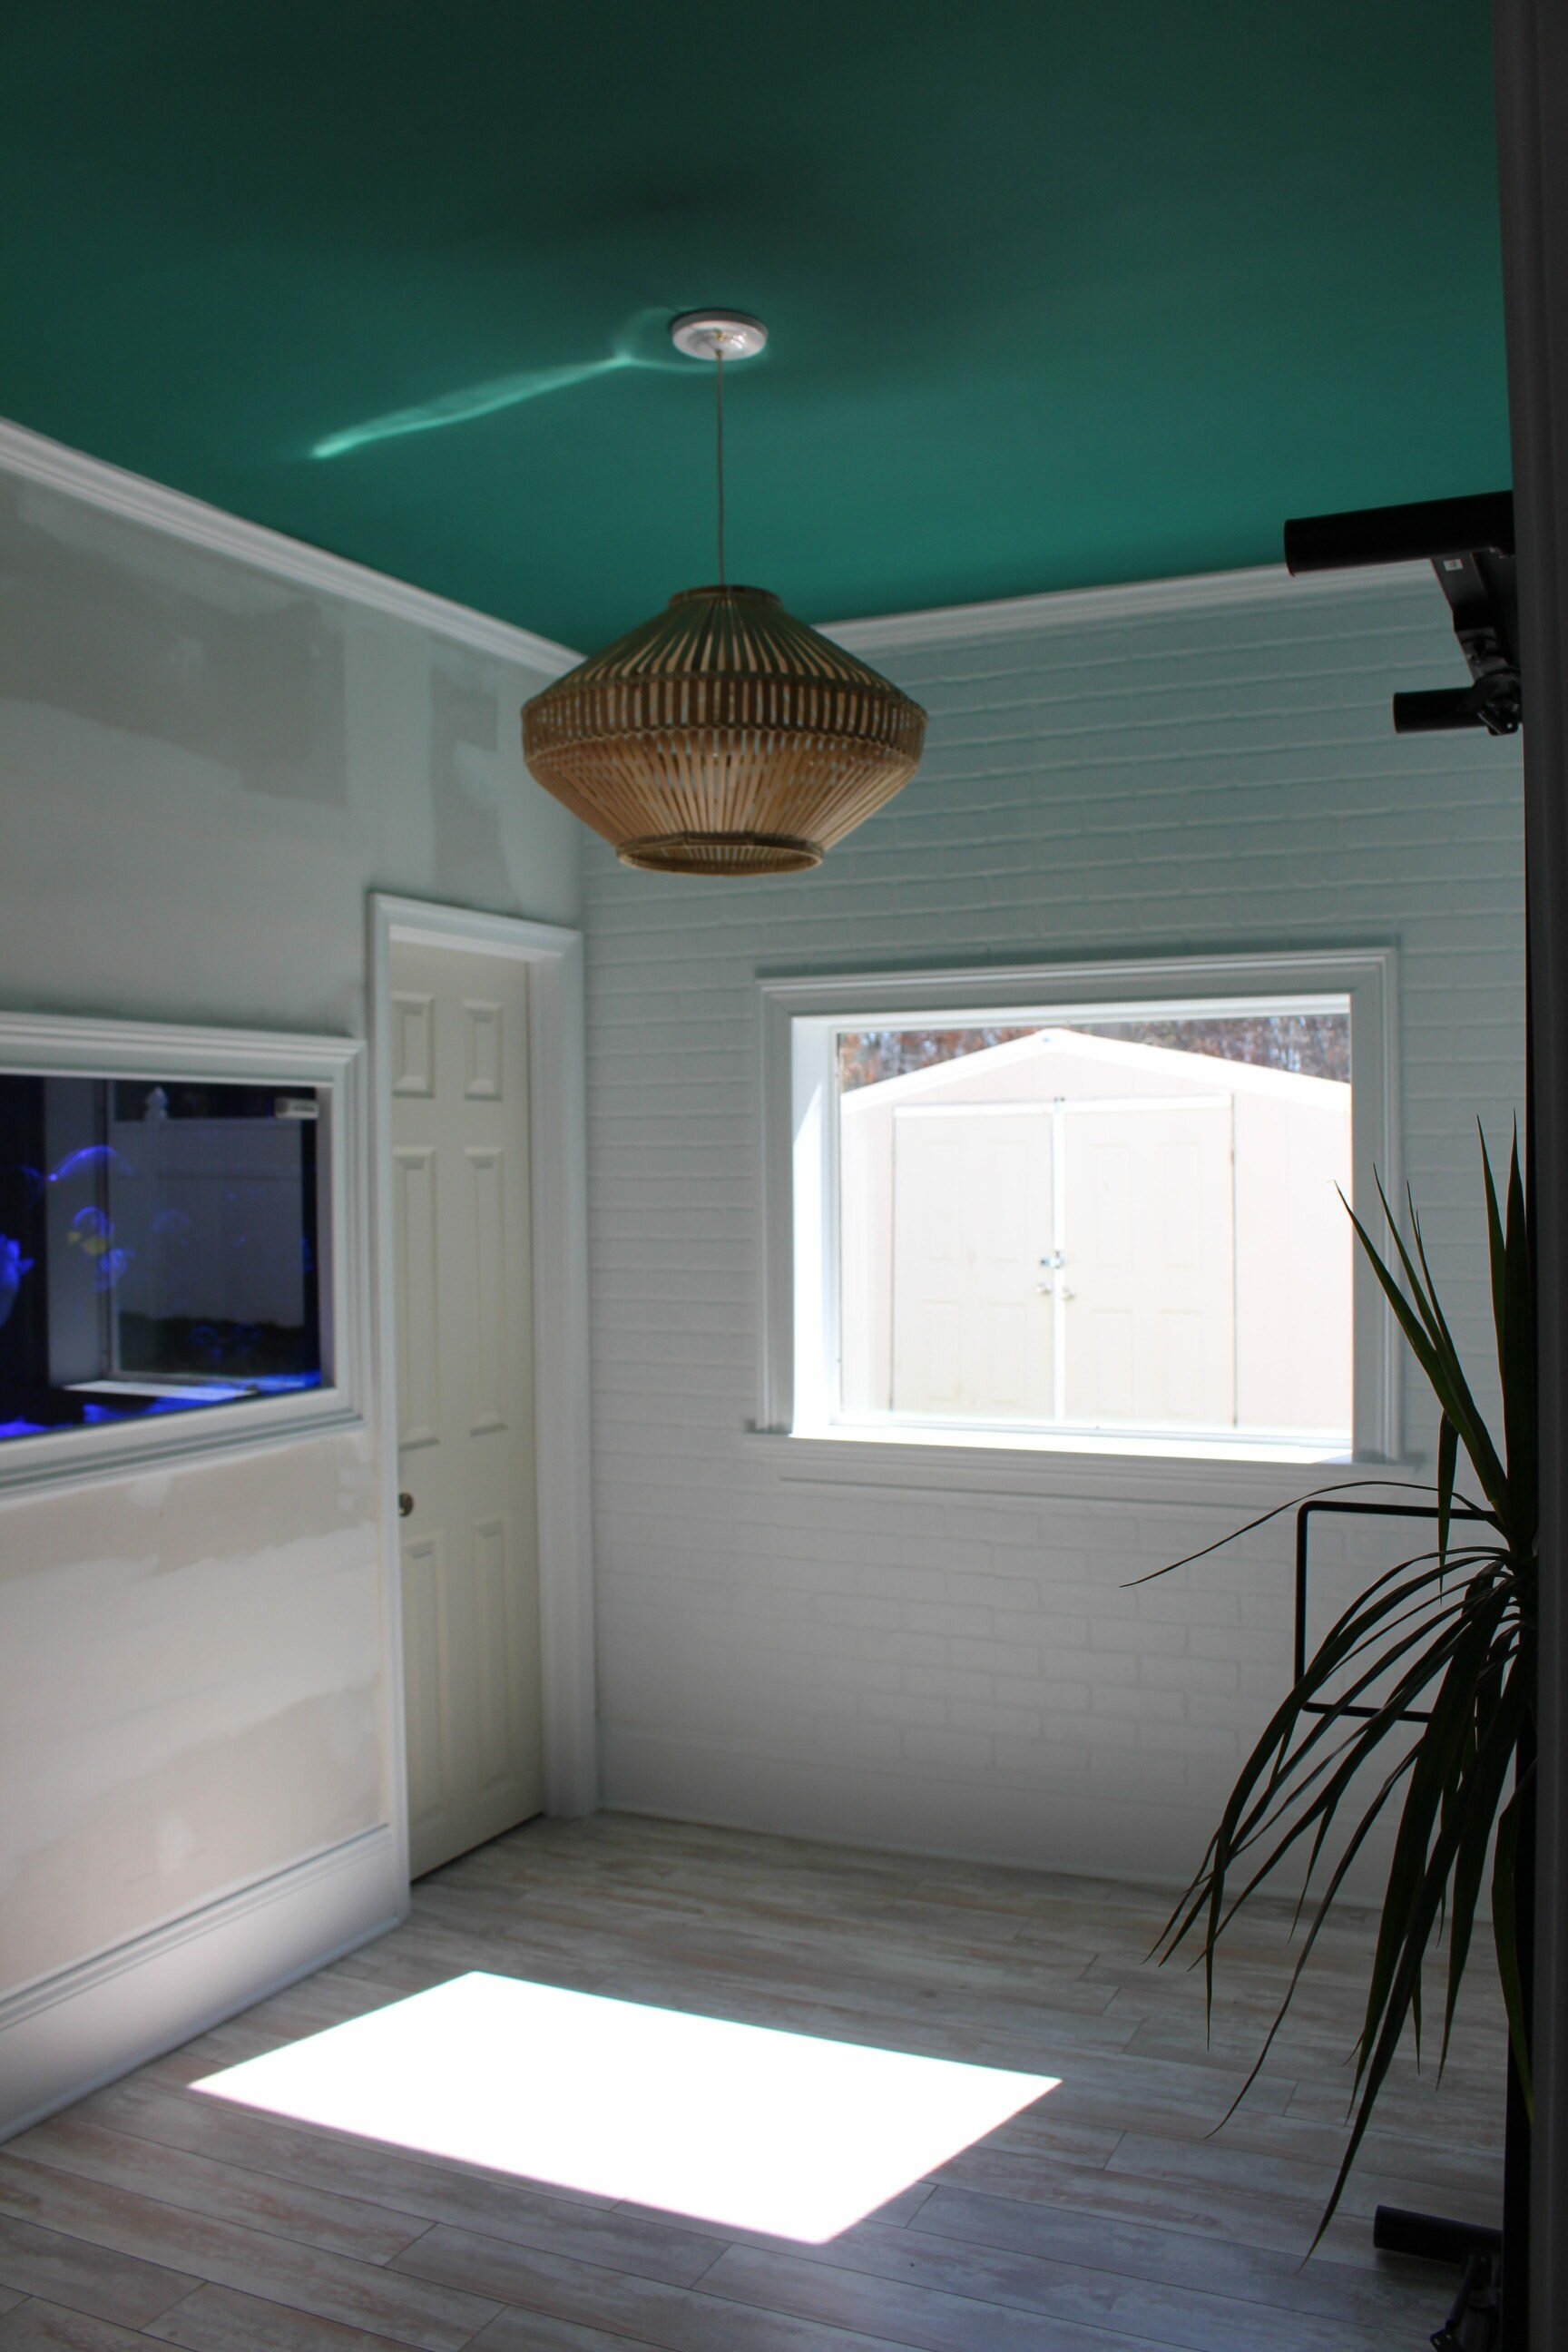
Let’s face it, we all can’t live in a swanky Brooklyn apartment. Did I just say swanky? Mike and I were at Home Depot not too long ago and we saw these sheets of faux brick. I knew I definitely wanted to use them in my home, I just wasn’t sure where. Our garage was converted into a room before we moved in. When I say converted, I mean barely. We call it the “dog room” because that’s where our dogs sleep. I think we need to come up with a new name. Any ideas?
We recently started refinishing this room. We (Mike) put up walls, put a window in, put the faux brick wall up, and painted. I have to say the brick wall gives the room so much character. The panel comes in original brick coloring but we painted ours white. There are different ways to make the panel look like aged bricks from 100s of years ago, which you can find online. I chose to go with the bright white bricks. You can have trendy Brooklyn living but keep your back yard and easy trip to the grocery store. (If you’ve ever carried groceries through the subway you know what I mean)
Hello mess…and Zoey. Please be advised my before photos will probably never be pretty.
These are some of the steps and considerations to take when putting the brick panels up in your home:
Buying
Take measurements.
Mike made a cardboard cut out that fit the window perfectly in order to get exact measurments because we have the window on that wall. If you’re putting it on a blank wall you will only have minor cutting which could easily be done by someone at Home Depot. They come in 4×8 sheets.
The panels sell for around $20-$25
Installing
You can use a jigsaw to cut the material. The jigsaw worked nicely but there are other tools you can use such as skillsaw, sawzall, or grinder. We used the jigsaw because it can cut in a lot of different directions.
After your pieces are cut and ready to install you can use brad nails (small finishing nails installed by using a brad nailer gun). With this option you are only putting very small holes in the paneling with is almost non visible or can be easily filled afterwards. Other options for installing would be using screws, which you will probably see or glue. With the glue there is a great possibility of ruining the wall that you’re placing the panel on. If there’s even a slight chance you may ever want to remove the brick, I wouldn’t suggest the glue.
This is one of the tricky parts- making the panels look seamless when joining them together. The way we achieved this is with caulk. Since we were planning on painting it white we used the caulk on the edge of the first panel and then pushed the second panel against it causing the caulk to squeeze in the seem. With some sanding and wiping this will make it seamless. You can also use spackle after attaching both panels. You can apply the spackle and then lightly sand. After painting there will be no visible seem. The spackle is white so only use the spackle if you’re planning on aging or painting the brick white. After the spackle and/or caulk dries, the wall is ready to be painted.
Painting
We found that it paints fairly easily. When painting the panels you just have to paint in both directions (up and down, side to side). It took two coats of each direction to completely cover.
Get yourself a paint roller with a thicker nap rating such as 1/2 nap. The thicker nap will help cover all the crevices on the bumpy textured services.

The photo was above taken prior to painting the wall to the left and the door.
I hope you’re inspired to add some texture to your walls. I’d love to see your finished project. Tag me on Instagram.
As always, if you ever have any questions you can comment here or on my most recent Instagram photo.
xx.
Cara


No Comments